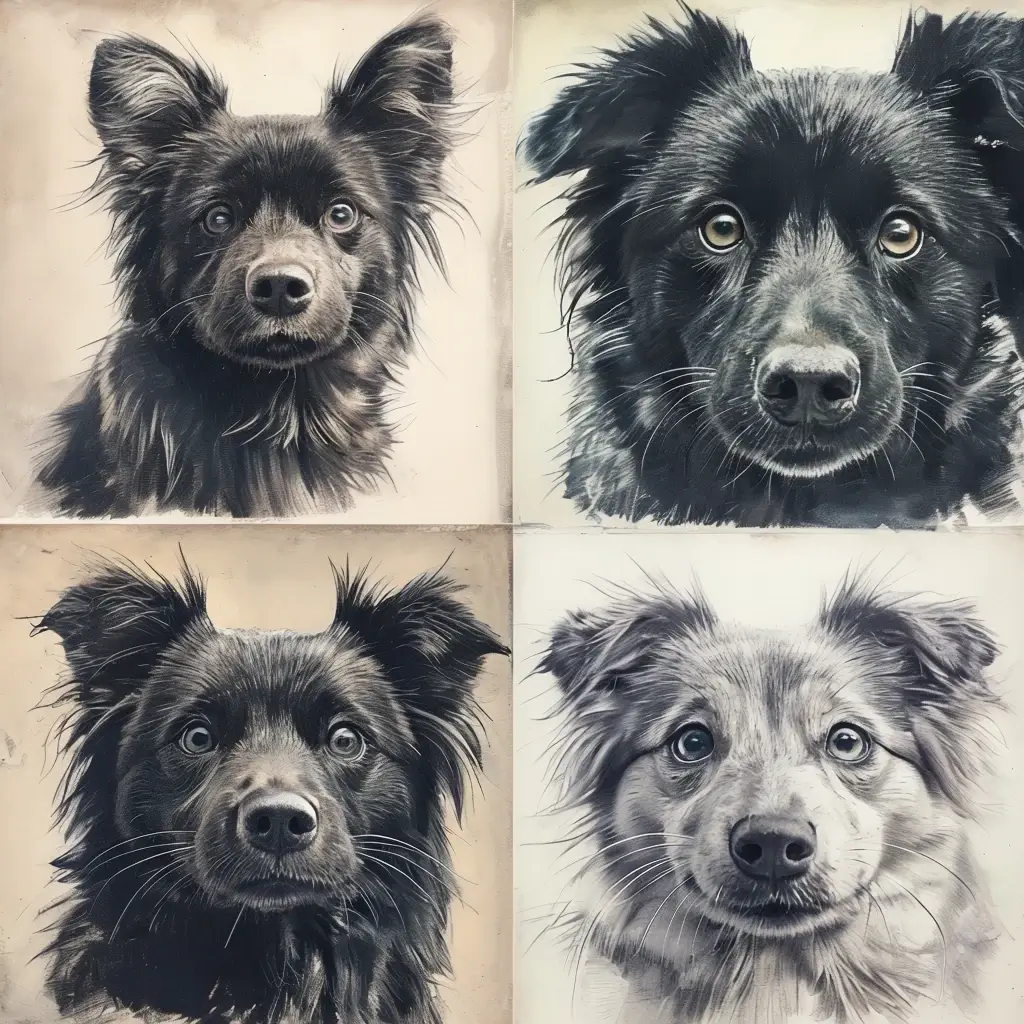
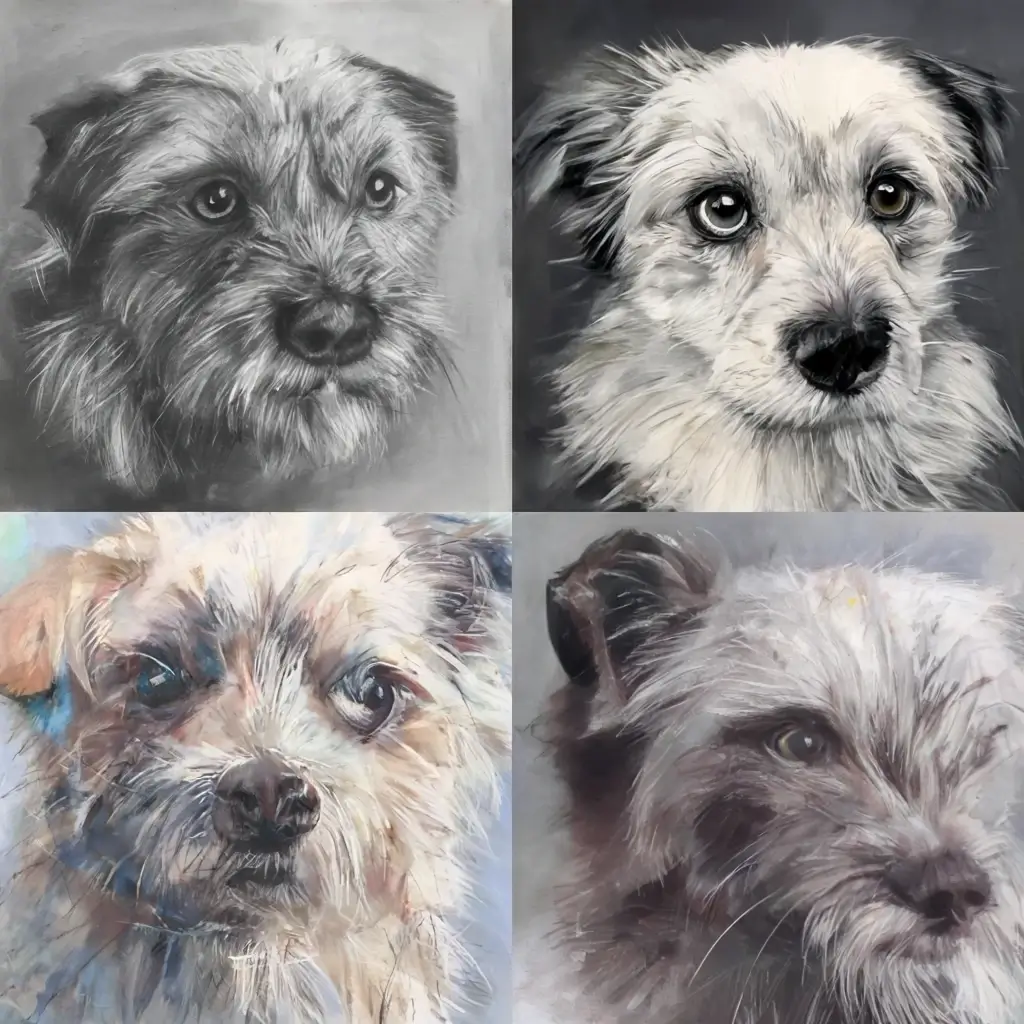
We mentioned in our previous article that a clear pet photo is essential for custom pet portraits. A clear, high-quality photo is the beginning of a beautiful pet painting. It gives the artist a good idea of how your pet looks and behaves, resulting in a more beautiful piece of art. If you’ve never taken a beautiful photo of your pet, don’t worry anymore. Here’s a step-by-step guide to taking beautiful pet photos with ease.
1. Preparation
Choosing the right equipment for taking pet photo portraits
You don’t necessarily need professional-grade equipment to take beautiful pet photos, but it doesn’t hurt to have great equipment.
Camera Options for Taking Pet Portrait photos
A DSLR or Mirrorless Camera: Provides the best focus and image quality. Some of the best options are:
Sony Alpha Series (A7 III, A7 IV, A6400)
Canon EOS R Series
Nikon Z Series
Smartphones: Many of today’s newer smartphones have incredible camera features that are perfect for taking pet photos.Smartphones with camera functions are also a good choice. These cameras can also take excellent results.
Lens Selection for Pet Photography
Prime Lens: Prime lenses have excellent optical performance, easy to achieve large apertures, are compact and lightweight, and are relatively affordable. They are best suited for commercial food photography, architectural photography, street photography, etc.
Zoom Lens: Zoom lenses have high optical flexibility, strong versatility, and are easy to carry. They are suitable for wildlife photography, event coverage, video recording, etc.
Telephoto Lens: Telephoto lenses have super telephoto characteristics and are suitable for sports photography, wildlife observation and photography, astronomy observation and photography, landscape photography, etc.
Accessories for Pet Photography
Tripod: Provides stability, especially in low light and long-distance shooting situations.
Camera Strap: Convenient to carry.
Spare Batteries and Memory Cards: Avoid the subsequent trouble of running out of batteries or memory cards.
Choose a Suitable Location for Pet Portraits
Choosing the right environment (such as a house, backyard, park, or any place that is important to you and your pet.) can make your pet feel at ease and maintain natural reactions. However, the environment you choose also needs to be functional; a spacious location provides space for equipment and provides additional perspectives for the task. Also, that location is easy to reach and well-lit.
2. Lighting
Good lighting makes for good photos and can bring out the best in your pet.
Best Natural Lighting Conditions for Pet Portrait Photography
Golden Hour: Early morning or late afternoon, which provides warm, soft light.
Overcast days: Provide even, soft light, eliminating shadows and squinting caused by strong light.
Front Light: Position your pet in front of the light so that the fur and eyes are clearly visible in the photo.
Back Light: Cast a soft light on the fur, but do it in good available light to prevent underexposure.
Indoor Lighting: Use window light for soft, natural light.
Avoid Using Flash in Pet Portrait Photography
There are three disadvantages to using flash. First, the flash will most likely scare your pet and make him less cooperative. Second, it will give the fur an unnatural color. Third, it will create an unsightly “red-eye” effect.

3. Composition
Using good composition techniques, you can make your pet photos look great.
Focus on the eyes in pet portrait photography
Eyes are a great way of showing personality and emotion. With good lighting and angles, you will end up with a well-lit pet portrait.
Apply the rule of thirds for pet portrait photography
Applying the rule of thirds will result in your pet photos being more natural, balanced, and pleasing to the eye. As you take a shot, turn on the 9-square grid in the viewfinder to divide the image into thirds. Placing your pet on one or two vertical lines, rather than center frame, gives a more layered look to your photo. This enables not just a focus on your pet, but the whole background as well, to create the picture more interesting and attractive. If your pet is facing in a particular direction, put it on the opposite side of the frame to allow for the direction that it is facing and have the photo appear more relaxed and spontaneous.
Consider the background for pet portrait photography
Contrast: Choose a background color that contrasts with the color of your pet’s fur so that your pet stands out more. For example, choose a light background for a dark-fur pet and a dark background for a light-fur pet.
Simple background: Avoid a busy background that’s distracting. A solid-colored wall, lawn, or neat floor will work.
Color coordination: Choose a background that complements your pet’s fur and eye color to make the photo more harmonious and comfortable.
Indoor shooting solutions: Placing a solid color or textured background overlay on your photo is simple and beautiful.
Lower the shooting angle: Shooting at the same level as your pet can capture more natural close-up photos that show their true expressions and personality.
4. Record natural poses and facial expressions
Your pet’s personality shines through in natural poses and facial expressions.
Encourage natural behavior: Let them play or sleep instead of posing; lure them with toys or treats.
Use burst mode: It helps freeze fast movements and fleeting facial expressions.
Be patient and observant: Always be ready to capture natural moments.
5. Camera settings
Good settings will produce clear, well-lit photos.
Shutter speed for pet portrait photos (controls the motion freezing effect)
- 1/250 second or faster: Best for freezing your pet’s overall movement.
- 1/500 – 1/3000 sec: Best for freezing fast action, such as running or jumping.
Aperture (controls background blur and depth of field)
- Large aperture (f/1.8 – f/4): blurs the background and focuses on the main subject of the pet.
- Small aperture (f/5.6 – f/11): can be used where sharper details are needed.
ISO (sensitivity, selected according to light)
- 100-400: for very bright outdoor light.
- 400-800: for cloudy or natural light indoors.
- 1600 and above: for low light, but be careful about photo noise.

6.Post-Processing
Post-processing can enhance the color, details, and overall quality of the photo, making the pet image more vivid. Here are some common adjustments for pet portrait photography:
Basic adjustments
Light-colored pets: reduce highlights and brighten proportionally to preserve fur details.
Dark-colored pets: increase exposure to lighten shadow areas and emphasize edges.
Contrast and Texture
Contrast: Increase slightly to provide depth.
Texture: Increase moderately to emphasize fur, but don’t over do it.
Local Adjustments
Eyes and Face: Brighten and sharpen to make the expression more realistic.
Fur: Brighten accordingly and increase sharpness to highlight fur details.
White Balance
Adjust to prevent color casts and produce natural and realistic fur colors.
Noise Reduction and Sharpening
Noise Reduction: Reduce shadow noise without losing details.
Sharpening: Focus on eyes and fur, but don’t oversharpen.
Curve Tool
Apply a gentle S-curve to create contrast and balance mid-tones to make the image more layered.
Use these techniques correctly to make pet images look clear, natural, and attractive.
7. Real Example: Photographing a Shy Cat–Xiaoxue
Background
Xiaoxue is a shy cat who is afraid of the camera and strangers. Her owner needs a series of reference portraits, but she will hide at will.
Challenges & Solutions
Unknown Environment: Give Xiaoxue plenty of time to acclimate, use maximum light, and minimize noise/distractions.
No Interaction: Give her your full attention and play with her using her favorite blanket instead of toys or treats.
Quick Action: Use a 50mm f/1.8 lens, fast shutter speed (1/500 sec), and ISO 800 for better photos.
Result: Best Pet photos for Portrait
Calm, patient, and focused. The best photo was the one of her looking out the window in the sunlight—her owner thought it was the best photo.
Final Thoughts
Great pet photos start with careful planning, good lighting, and patience. Follow the tips below, try a variety of settings, and most importantly, have fun! The more relaxed you and your pet are, the better the photos will be.
